Tuesday, 29 December 2015

The Hand of Friendship Fingerless Mittens

The Hand of Friendship Fingerless Mittens

Using 3.5mm needles
1 ball of Angora Merino Bigwigs Yarn (50g) DK (1 ball makes two pairs)


I designed this simple pattern to show the beautiful yarn to it’s best and I wanted the pattern to be knit flat as I am fastest that way and had lots of these to make.

Key
K – Knit
P – Purl
St – stitches
Kfb – Knit into the front and back of the same stitch
Yo – Yarn over
If you need any clarification on the terms above YouTube is a great help.

The pattern
CO43st
Row 1                   K2 (P1,K2) repeat to last 2 st, K2
Row 2                   K2 (P2,K1) repeat to last 2 st, K2
Rows 3-20            Repeat rows 1 & 2 nine more times
Row 21                 Repeat row 1
Row 22                 K1, Kfb, K to last 2st, Kfb, K1 (45 sts)
Row 23                 K1, P to last st, K1
Row 24                K3, K2tog, Yo (K3, K2tog, Yo) repeat to last 
                             5 sts, K5
Row 25                K1, P to last st, K1
Row 26                K all stitches
Row 27                K1, P to last st, K1
Row 28                K6, K2tog, Yo (K3, K2tog, Yo) repeat to last 
                             2 sts, K2
Row 29                K1, P to last st, K1
Row 30                K all stitches
Row 31                k1, P to last st, K1
Rows 32-55          Repeat 8 row pattern (Rows 24-31) three more times
Rows 56-62          Repeat rows 24-30
Row 63                 K all stitches
Row 64                 K2 (K2tog, Yo) repeat to last 3 st, K3
Row 65                 K all stitches
Row 66                 Picot bind off.
*BO 3 st, move remaining st to left needle, CO 2 sts, BO 6 st* repeat to end.


Leave long tail to sew up and cut yarn.  Measure from the top edge and sew up the first 3cm and leave a 6cm gap for the thumb hole and continue to sew up to the bottom of the mitten.


If required soak and block then gift them or wear them.

You can make the mittens longer or shorter by changing how many times you repeat the 8 row pattern (in bold above) and or changing the length of the rib pattern at the beginning.


Any questions please contact me by email @ kandipandi@live.co.uk


Thursday, 16 April 2015

Giveaway Winner

As a little thanks for hanging in there with me for my 5 years blogging I thought I would offer a little giveaway.
I added you all to a huge list with blog entries and instagram entries there were 94 in total!  
Thank you all for your interest.
The random number generator did its thing and chose:

@miss-jolene1984

Congratulations please email or direct message me with your full name and address and I will send a little parcel of goodies your way.

Back Soon


Monday, 13 April 2015

Natural Crochet Cushion

I had a shabby old crochet cushion on my chair and it was in desperate need of replacement.  

I very rarely buy cushions they are the simplest thing ever to make. 
Using some lovely bluefaced Leicester wool I set to.  

The wool I had was 4 ply which was way too flimsy for my needs so I caked two balls together to make double thickness wool to work with and I used a 4.5mm hook.
  
The pattern I used was this Round Cushion Cover from the Cute and Easy Crochet book by Nikki Trench but I was not entirely happy with my interpretation of it.
You can make out the ridge on this one at each round change and I don’t like it.  As neat as I am with my joins it’s rarely invisible and with this being all one colour I think it stands out even more.  

I frogged it several times but eventually I just had a word with myself and went with it.  This is never going to be on show anyway as it is the back.
For the front I went for a continuous spiral, using a stitch marker to mark my row start I just continued on and on making one large spiral.  
I based the pattern on the other one for the quantity of increases on the rows and it worked a treat.  This little thing used up three full balls of 50g 4 ply (doubled up).  For the scallop border I used part of a little ball of Jamiesons spindrift and I like the contrast.
This chair is in daily use so I couldn't fuss it up with a flower in the middle as it would just get squished, besides I really like the simplicity of the spiral shape and don’t want to hide that.
I took the zip out of the old broken cushion cover and added it to this one, as I need to be able to remove my cushion covers.

 (see that nasty ridge, grrr)
 To add the zip to crochet; a simple mattress stitch along each edge of the zip in the same wool gives a nice edge to join knit or crochet work to.  I added a row of treble crochet around the rest of the cushion to keep the shape right with the zip in there and I'm really pleased with how it turned out.
It’s nice to see these two together, one knit, one crochet, one square, one round both in the same wool but such a different effect.
How much can one woman rant about a cushion?
I'm done!

Back Soon

Friday, 10 April 2015

Some Bunny Loves You

I took part in an Easter/Spring themed circle swap over on Instagram recently ‘Some Bunny Loves You’ hosted by Jackie of Polka Dots and Petticoats.  
I made a few little gifts to send across to my recipient one of which was this Easter bunny pouch.

 The little lined pouch  was made using some Alice in Wonderland Kokka and a little Tilda applique bunny.  

It has a matching needle case, I hope it comes in handy.  

The swap is done in a circle so you send to one person and receive from someone else.  
I received a lovely little parcel of Easter goodies from Joanne of Funky Keepsake


Oskar was very impressed with the empty box.
thanks again Joanne and Jackie x

Back Soon

Thursday, 9 April 2015

NOW CLOSED - Blog Birthday Giveaway

It's been five years since I started this little blog of mine.
I have sometimes been awol for months on end but I've never given up on my little piece of cyberspace.
As a little thanks for hanging in there with me I thought I would offer a little giveaway.

Up for grabs are these three brand new 50g skeins of Debbie Bliss Paloma in Light Blue (42010)60% baby alpaca and 40% merino wool.  I will of course add in a few little extras.

Simple Rules:
To enter the giveaway you don't have to follow me but I do need to be able to contact you. If you don't have a blog please leave a valid email address.
Just leave a comment on this post and I will add you to the list.
If you have your own blog and if you wish, please add me to your sidebar and link to this giveaway and I will add you again. Please let me know if you do and I will add you twice.  
If you prefer you can enter on Instagram.
I will draw the winner in one weeks time on Thursday the 16th April. 

Back Soon

Monday, 6 April 2015

Springtime and Easter

With it being that time of year I’ve been making a few little springtime gifts for friends and family.  


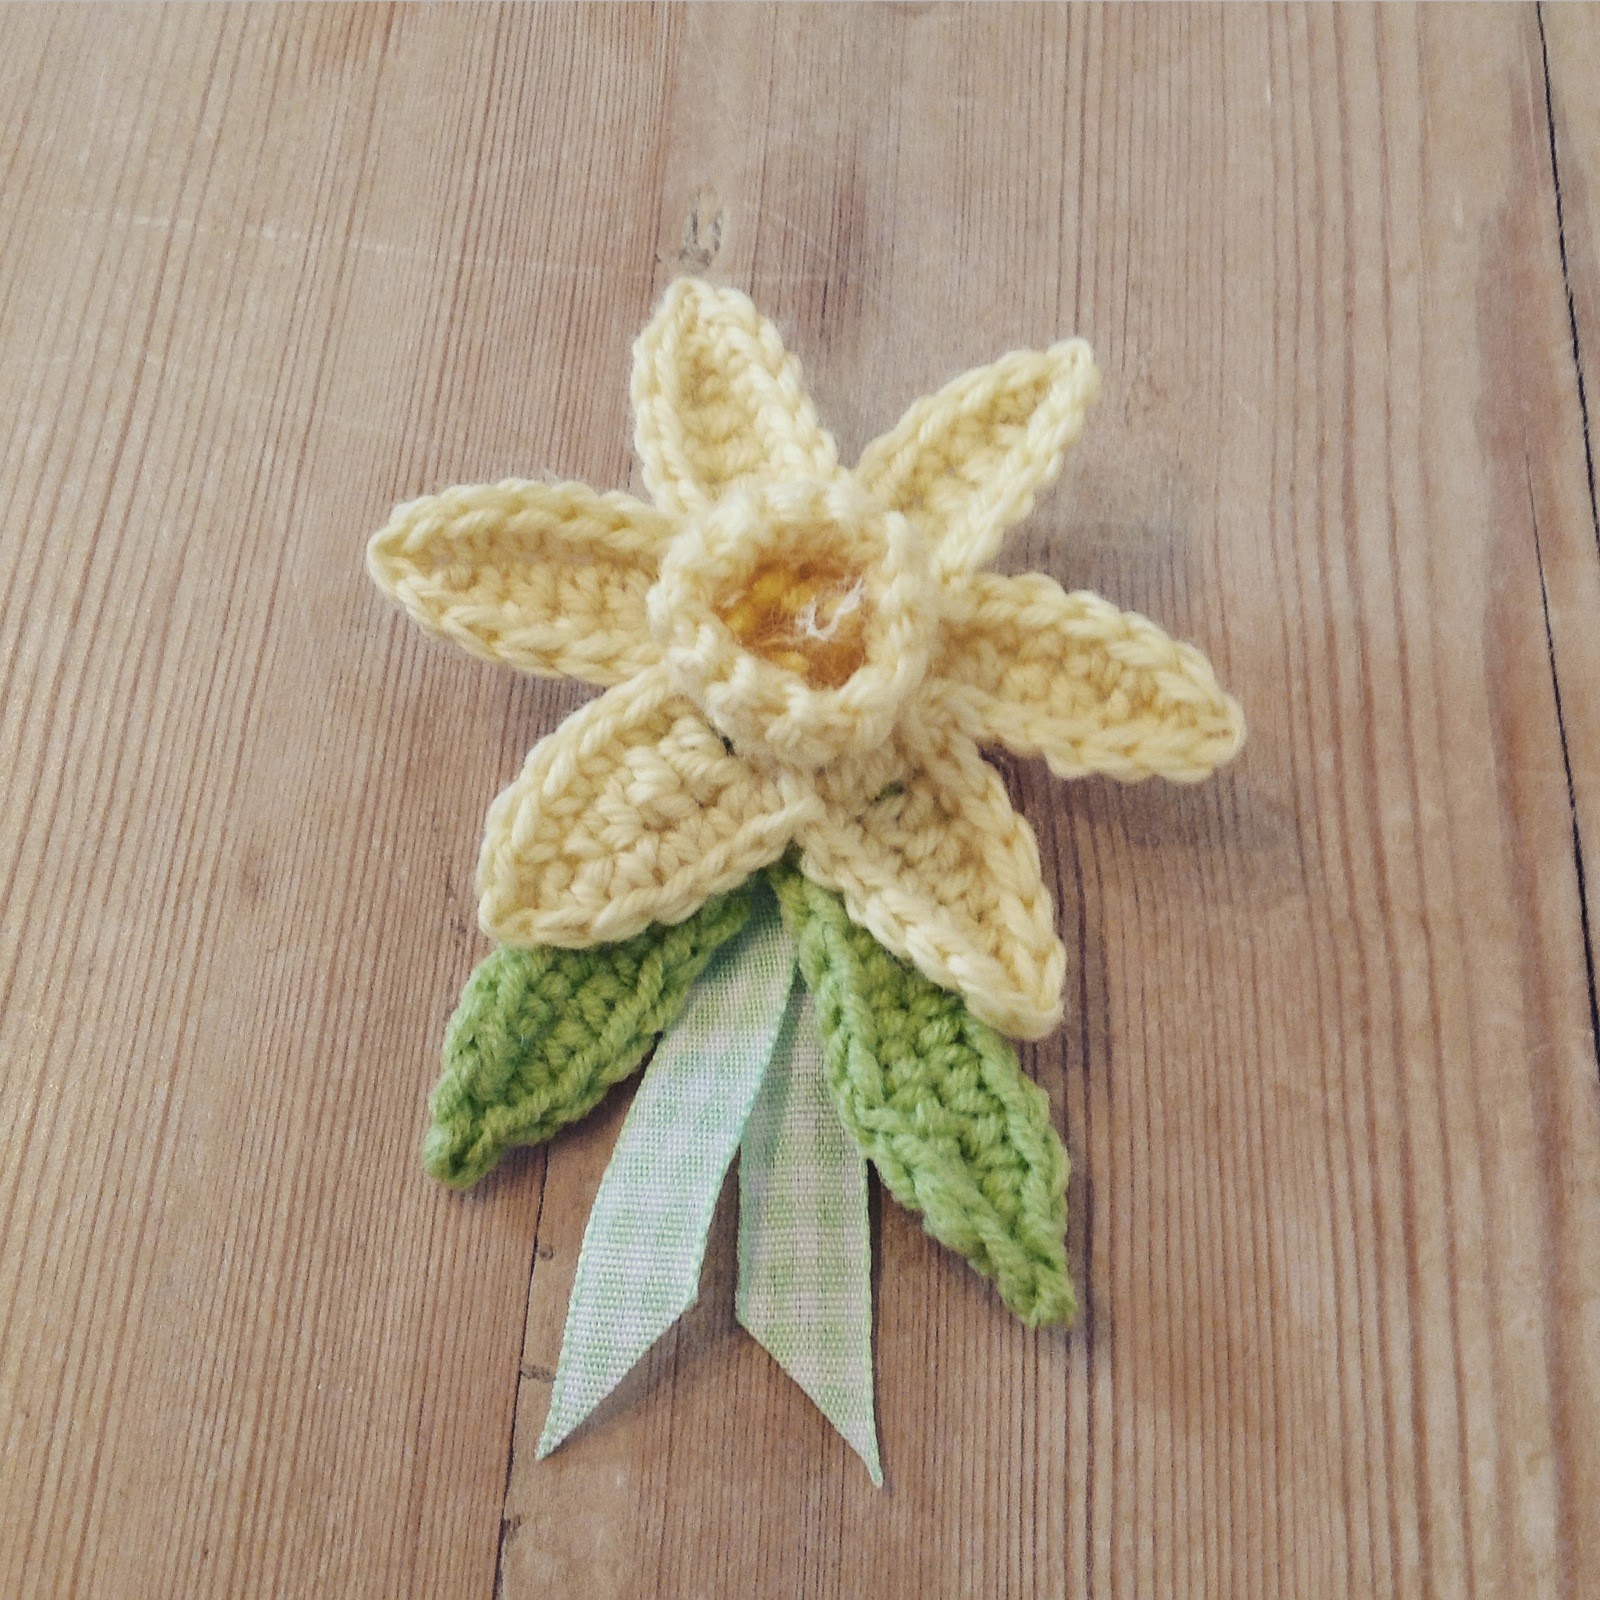
First up were these daffodil brooches, a really easy to follow pattern by the clever Lucy they turned out great.  A bit of spray starch, blocking and a bit of fussing on the back and they were good to go.


On the Spring/Easter theme again I rustled up a few tilda bunny hearts to send to a few of my friends.
These sweet little things were made following a pattern from the Tilda Springtime Gifts book.  I’m quite pleased with how they turned  out.


  Happy Easter Friends


Back Soon

Sunday, 8 March 2015

A Sedentary Week

This week has been scuppered by my dodgy old back.  
I have had a couple of days doing barely anything as I could hardly move (I got down my stairs on my bum like a toddler).

Oskar obviously paid no mind to the fact that I was in pain and trying to get comfortable he just wanted the best spot.
'Get up and feed me woman'
 Salted caramel cookies did ease the pain (or so I told myself).

 I did manage a couple more rows on my Happy Street shawl yesterday.

Actually Saturday was a good day generally and I also made a start on a couple of little spring makes.
 This will be something Easter themed.

Back Soon
Lisa x